This month’s Daring Cooks challenge was something that I’ve been looking to make for quite a while. I came across them every once in a while on food blogs and podcasts, but I’ve never really understood what they were. Mashed potatoes? Wrapped in a pasta dough? And boiled? Weird. But still, they intrigued me. I like mashed potatoes. I like pasta.
The August 2010 Daring Cooks’ Challenge was hosted by LizG of Bits n’ Bites and Anula of Anula’s Kitchen. They chose to challenge Daring Cooks to make pierogi from scratch and an optional challenge to provide one filling that best represents their locale.
The hosts of this month’s challenge suggested that we try to make our pierogi with locally available materials and flavors. While I was incredibly tempted to construct some sort of matooke pierogi with a gnut (peanut) sauce [please note the sarcasm], I settled on pumpkin filled pierogi. This, however, was not to be. I apparently have absolutely no idea how to pick a pumpkin. I chose a small one, thinking that since I was only cooking for myself I didn’t really need a regular size one. Big mistake. While the pumpkin was the right size, it wasn’t quite right for eating. I had to throw out the flesh, but was able to saute up some tasty spiced pumpkin seeds. So it wasn’t a complete waste…
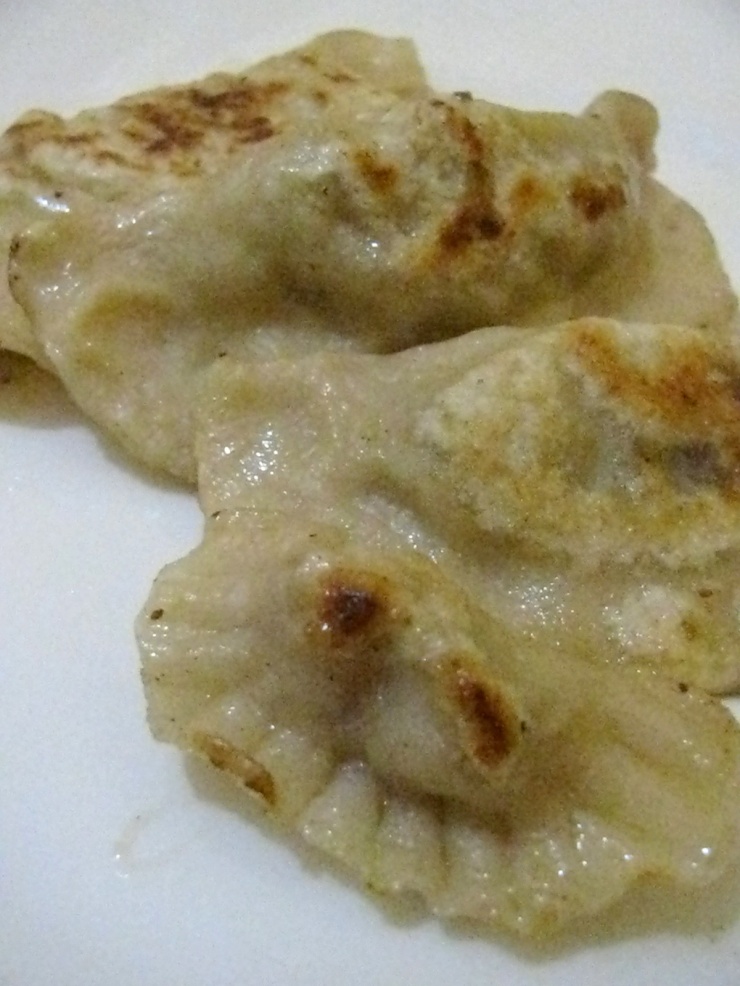
I then decided that perhaps going the more traditional route was the better option. I settled for a mashed potato filled perogi, which I pan fried after boiling to get rid of that gooeyness that I feel plain, boiled homemade pasta often has. I’m a textural eater and boiled homemade pasta completely turns me off. When I’m not drowning it in sauce, I prefer to boil then pan fry to get it a little dryer and crispy. I’m a fan of the crispy. Especially when it involves chicken, but that’s another post, probably at least a year down the line. Getting a chicken to fry up here in Uganda is more effort than I’m willing to put in.
Pierogi
Makes a BUNCH!
For the dough:
2 to 2 1/2 cups all-purpose flour
1 large egg
1/2 teaspoon salt
About 1 cup lukewarm water
1. Place 2 cups flour in a large bowl or on a work surface and make a well in the center.
2. Break the egg into it, add the salt.
3. Add the lukewarm water a little at a time until the dough comes together, but isn’t sticky. I used about 1/2 cup.
4. Knead well and add more flour or water as necessary. You’re aiming for soft dough.
5. Cover the dough with a bowl or towel. Let it rest 20 minutes. While the dough is resting, make the filling (recipe below).
6. On a floured work surface, roll the dough out thinly (1/8” or about 3 millimeters).
7. cut with a small round or glass (personally I used 4 inch-ish cup as it makes nice size pierogi, that way you can get a lot of filling in the package).
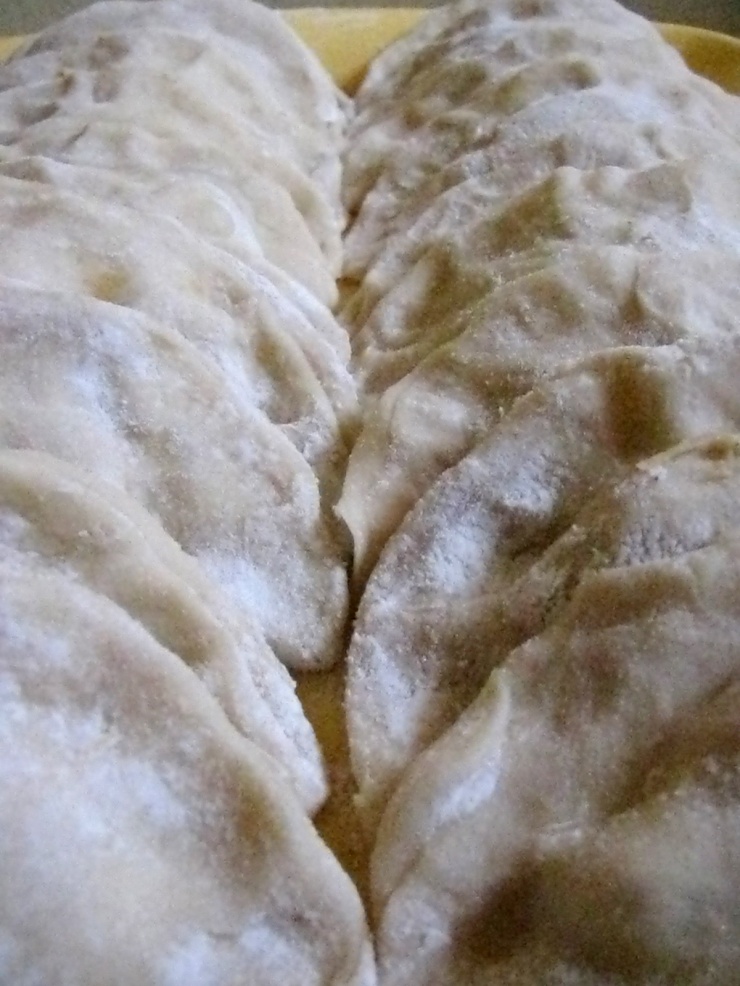
8. Spoon a portion (a regular table-use spoon full will work will be the best) of the filling into the middle of each circle. Fold dough in half and pinch edges together. Gather scraps, re-roll and fill. Repeat with remaining dough. I find it’s best to flour the tops and bottoms of the pierogi if you’re going to be stacking them before boiling them as they tend to stick together. You may, if you choose, freeze them at this time and cook them later. If you choose to freeze them, don’t just throw them in a ziplock bag and stick them in the freezer. You’ll end up with a block of pierogi frozen together and it’ll be a mess. Freeze them flat on a cookie sheet, not letting any of the pierogi touch each other. When they are frozen, you can transfer them to a plastic freezer bag and they’ll be ready to go whenever you’re hungry!
9. Bring a large, low saucepan of salted water to boil. Drop in the pierogi a few at a time. Return to the boil and reduce heat. When the pierogi rise to the surface, continue to simmer a few minutes more ( usually about 5 minutes). Remove one dumpling with a slotted spoon and taste if ready. When satisfied, remove remaining pierogi from the water.
10. At this stage they are ready to eat, but I prefer to then transfer them to a saute pan with melted butter and get them nice and crispy. You can serve these with a light butter sauce, or just eat them plain!
For the filling:
4 Irish potatoes, peeled and diced
2 cloves garlic, minced
2 shallots, minced
1 Tablespoon dried parsley
1 teaspoon dried thyme
1/4 teaspoon salt
1/4 teaspoon black pepper
1/4 teaspoon ground nutmeg
1 Tablespoon butter
1. combine the peeled and diced Irish potatoes, minced garlic and onions, dried parsley and dried thyme in a pot, add water to cover the potatoes and boil until they are soft. You want the same amount of softness you get when making mashed potatoes.
2. Drain the potatoes, saving as much of the herbs and garlic and onions as you can, and mash in the salt, pepper, nutmeg and butter with a fork or potato masher. I prefer to use a fork since you can mash and stir with the same utensil. And I don’t have a potato masher here in Uganda.
3. Set aside while you are finishing the dough.


Leave a comment